How To Run System Restore
The purpose of the System Restore tool is to undo changes in your computer when problems arise. For example if you do a download from the internet, or the network, or install a game, or any application, or if you update your computer, you are making changes to it. These changes can sometimes become unstable in your system and the computer can crash. If this is the case, you can always go back to the way it was before you made any of these changes with System Restore. Make sure it is turned on before making any changes to your computer or you will not be able to restore back the computer. Here is how.
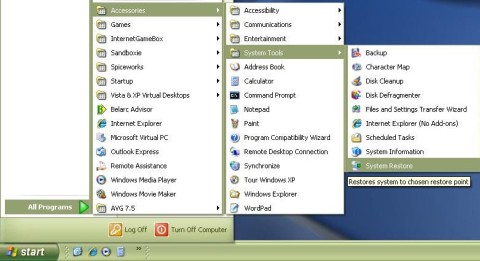
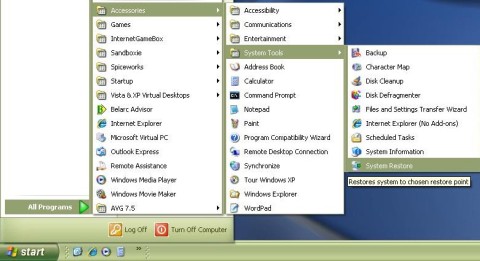
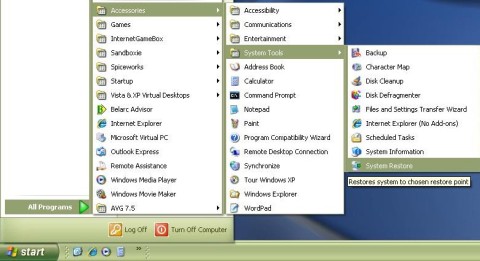
On the bottom left corner of the screen, click on start point to All Programs, Accessories, System Tools, and click on System Restore.
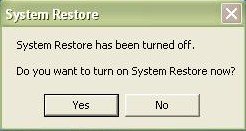
Note: if System Restore is turned off, it will give you a message indicating that it has been turned off in which case you will have to re-enable it. Click Yes on the message that says Do you want to turn on System Restore now which will appear when you attempt to open the System Restore tool (see below).
On the next window, uncheck the box that appears on the System Restore tab and click OK (see below).
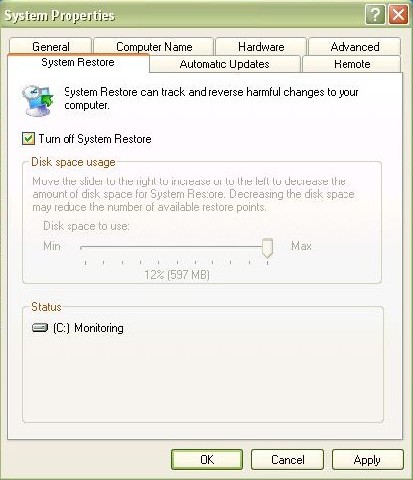
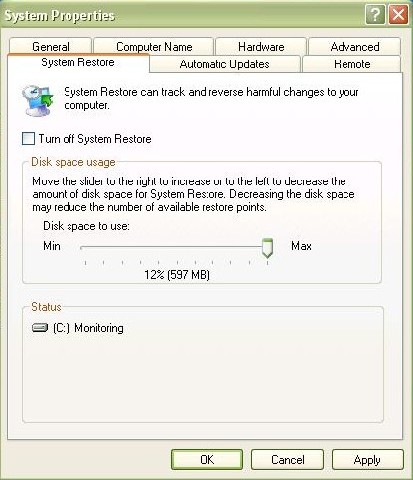
The utility is now turned on and you can proceed to reopen it once again.
Click on start point to All Programs, Accessories, System Tools, and click on System Restore
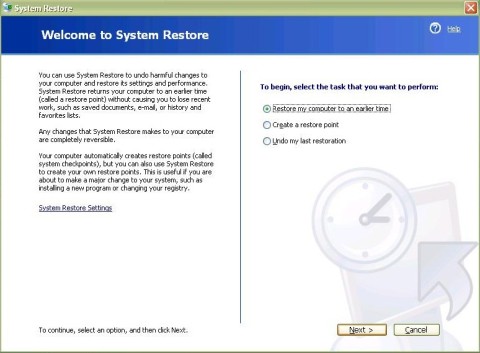
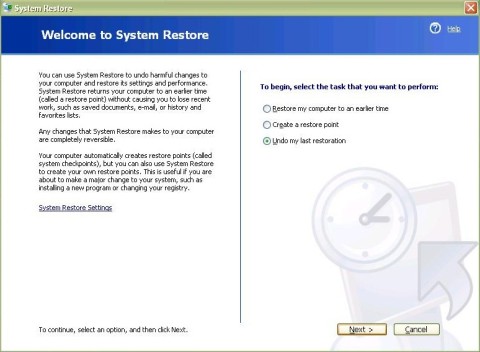
Once its opened, you will see two different options that you can choose from the first time you use it: (1) Restore my computer to an earlier time, and (2) Create a restore point.
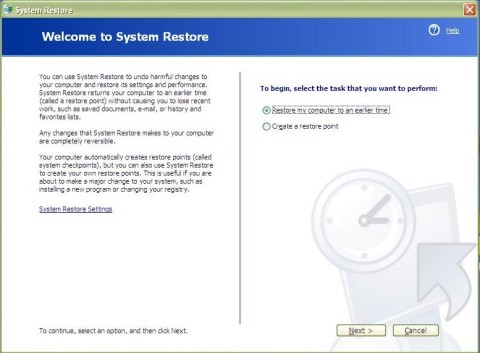
Lets study the first option. Remember, we are trying to undo changes made to the computer. Select the first option and click Next.
This next window shows the calendar of the current month and it can go back about four month if needed (unless it was recently turned on). It also displays in bold the dates you can restore to (read window instructions). In this case I selected July 28th as my restore point because this is the only date available for me since I just turned on the System Restore tool for this tutorial.
Because I just turned on the tool, there is only one system check point available on the list for this date (see below).
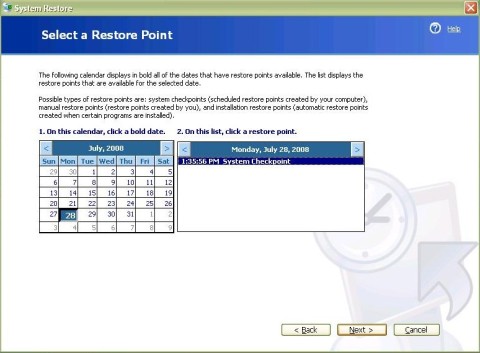
Click next after you select a date. This will take you to another window before it starts the restoration process so you can confirm that it is ok to continue (see below). Click next again if you agree.
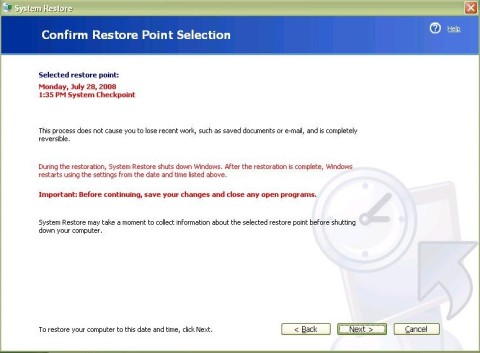
Your computer will now restore and restart.

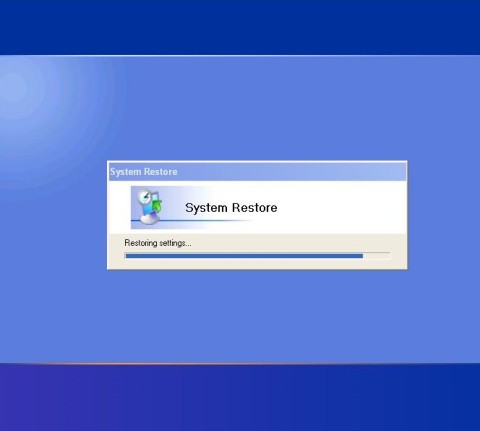

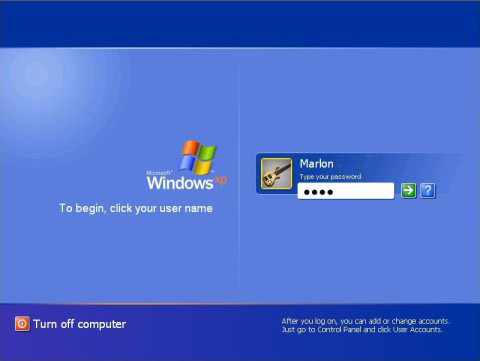
Log back into windows if you have a password.

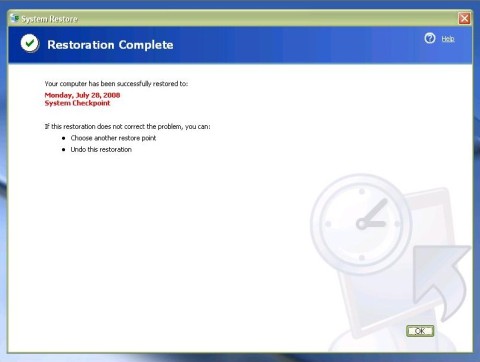
A restoration complete message window will appear indicating that its done . Click OK and youre done. You now have restored your system to an earlier time. (see below)
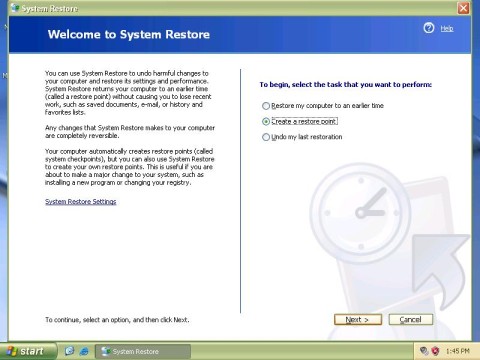
Now lets view the second option Create a restore point. Notice how this time around there are three options. Thats because the computer was previously restored to an earlier time and it now created an option to undo that last restoration. We will take a look at it later, but for now lets click on Next for the second option Create a restore point.
In this next window you will type a short description for your restore point. For instance, if youre going to install a new software in your computer you can type something like pre-(name of the program) software installation and that way you know in the future that it was from this point on that you made changes to the computer in case you need to go back. However for this tutorial I will just call it test (see below).
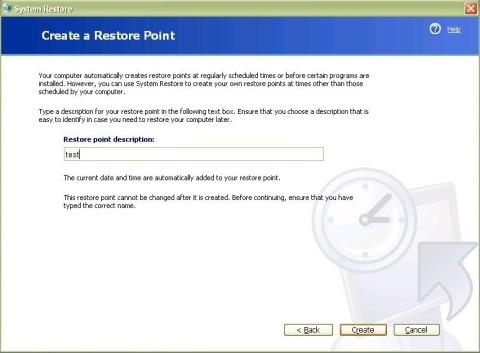
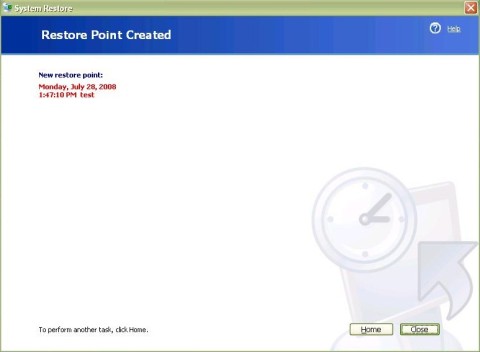
Once you type a description or name, click Create and its done. You will see a window telling you that it has been created and all you have to do is close it. Note, to check the new restore point that was just created, click Home instead of closing the window below.
Go through the same motions of the restoration process by selecting the first option, click Next and now you can see the check point created; in this case, the one called test (see below).
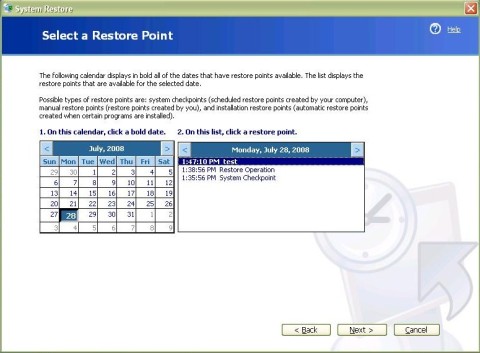
As you can see from the picture above the check point is there. You can do this whenever you want to install new software and have a more specific description of what you will be doing. Other wise you can use the normal system checkpoints that window creates. At this point you may cancel now or click the red X to close it.
Lets now check out the new option available Undo my last restoration. Lets open System Restore one more time. Click on start point to All Programs, Accessories, System Tools, and click on System Restore
System Restore should open. We are going to choose the new option and click Next.
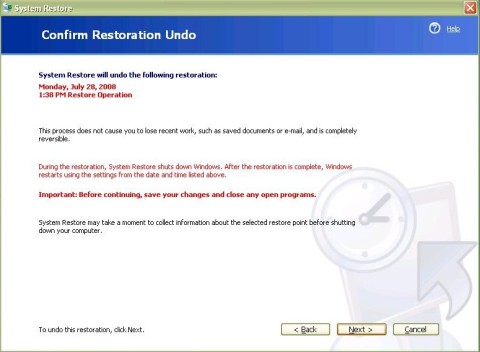
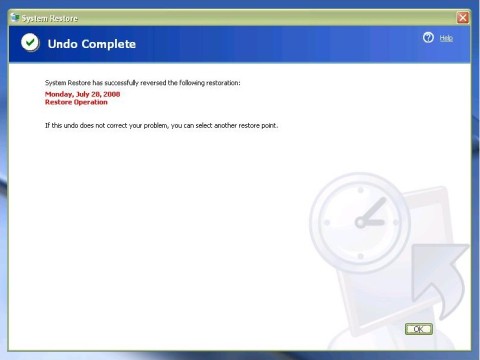
There is no list to select here because we are only undoing the last restoration. Confirm this window by clicking next and it will undo the last restoration and restart (see below).
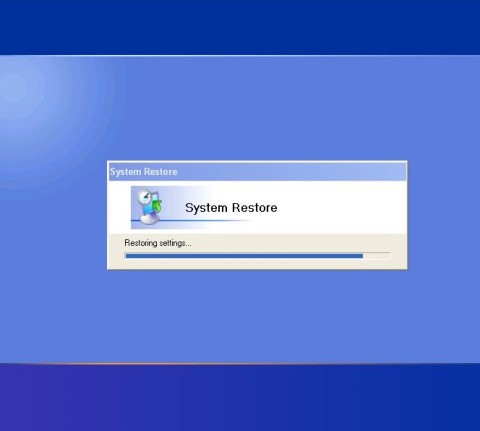

Click OK and it's done. You have now completed this tutorial.
Return from how to run system restore to free computer help